Surveys Template Configuration
Admins can configure how the Survey will appear when the respondent opens it.
To enable this setting:
-
Click the Administration icon and select Settings.
-
Click on Surveys to expand the section and select Enable New Surveys checkbox.
This will display the Surveys Configuration setting under Administration.
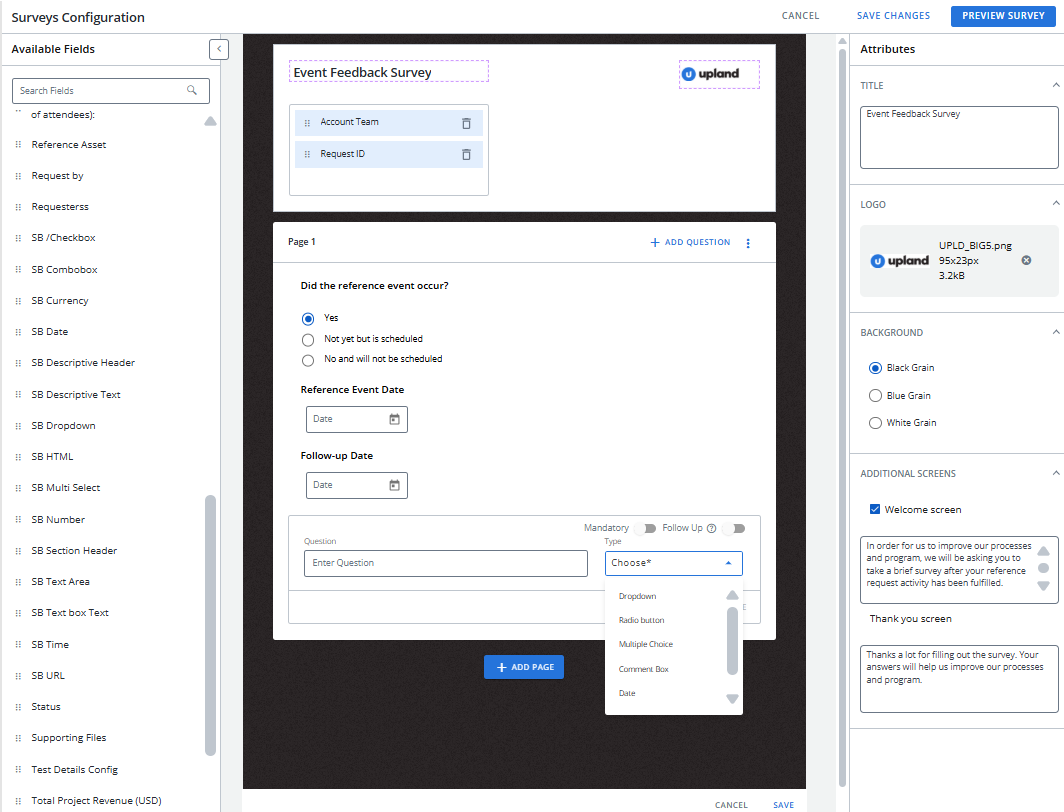
The Surveys template configuration interface is divided into three sections:
-
Survey Output Layout (center section): This is where you design the layout of the survey by adding multiple questions and pages.
-
Available Fields (left section): These are sourced from the Request fields and indicate the opportunity linked to the survey. You can drag and drop up to four fields into the header section to display in the output survey.
-
Attributes (right section): This allows you to configure title, logo, background colors, welcome, and thank you message of the survey.
Configuring the Surveys Template
-
Click the Administration icon and select Surveys Configuration.
-
In the center section, enter the title of the survey.
-
Drag and drop the relevant fields from the Available Fields section into the designated area. Click the
 icon to remove a field.
 -
Use the Attributes section to add the survey title, logo, background color, and welcome/thank you messages. See Configuring Attributes.
-
To add a question, click + Add Question. This will open a new question field at the end of the page.
-
In the Question field, enter your question.
-
From the Type drop-down menu, select one of the following:
-
Dropdown – Displays a drop-down list. You can enter values in the provided field.
-
Radio Button – Displays single-select option. You can enter values in the provided field.
-
Multiple Choice – Displays multiple select option. You can enter values in the provided field.
-
Comment Box – A text box appears where the respondent can write a descriptive answer.
-
Date – Allows the respondent to select a date.
-
Rating – Displays 5-stars.
-
-
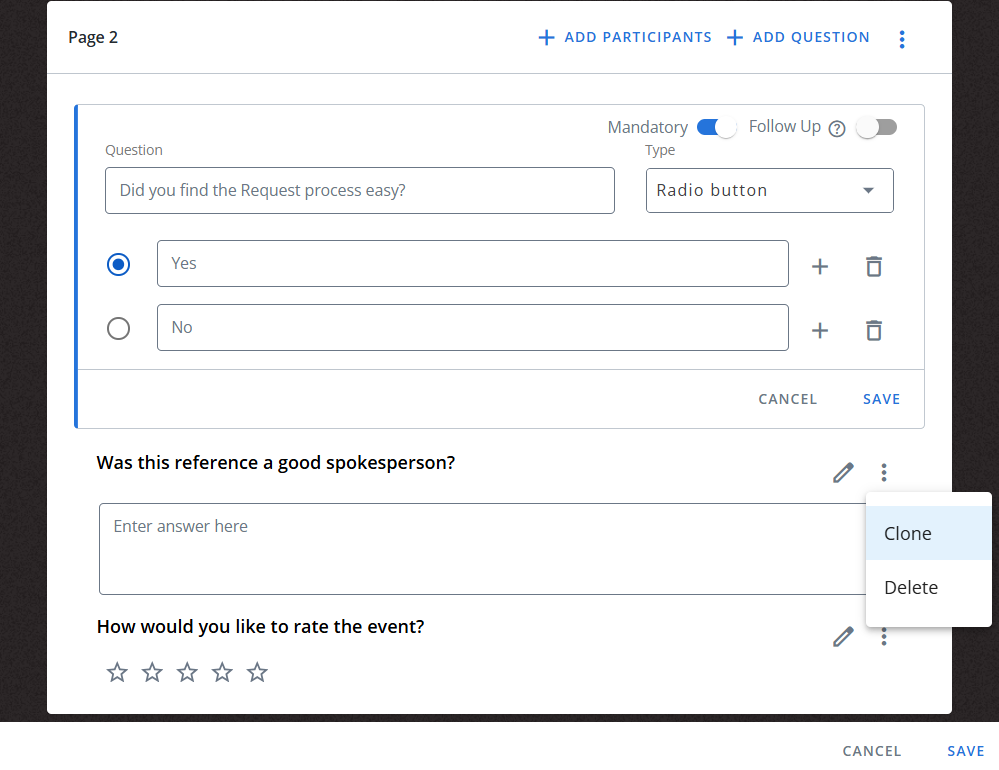
To make a question mandatory, turn on the Mandatory toggle button. An asterisk will appear next to the question to indicate it is mandatory.
-
Click Save to add the question to the survey.
-
Click
 icon to edit the question or change its type.
Note: The first three questions are pre-configured and cannot be edited. After that, admins can add multiple questions as needed. Each question must be unique; if a question is repeated, it cannot be saved.
-
-
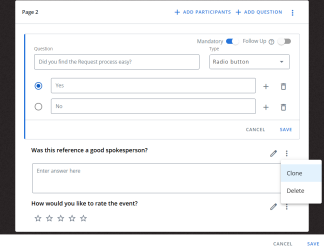
Click
 icon to Clone or Delete the question.
 -
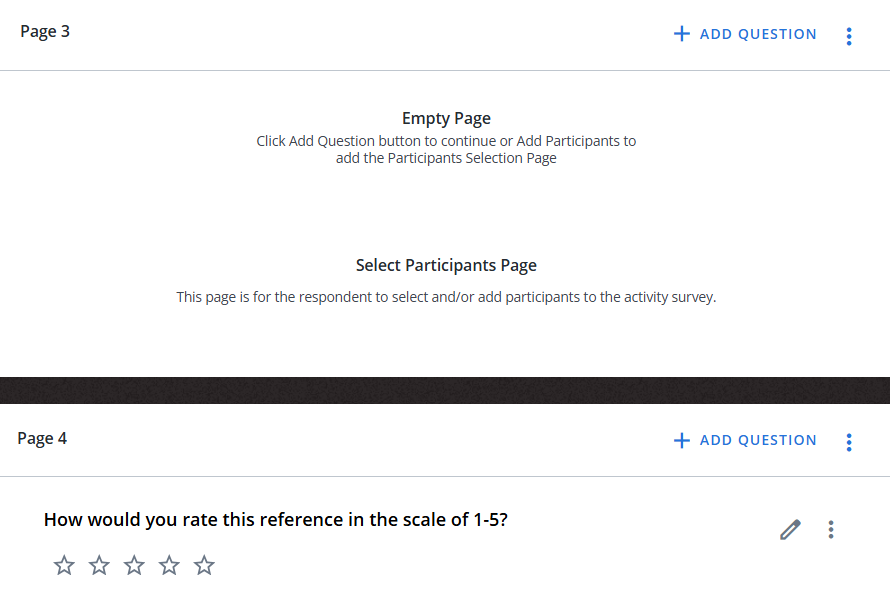
Click Add Page to add one or more pages based on the number of questions.
Tip: You can add all questions on one page or distribute them across multiple pages as needed.
-
Click +Add Participants to add the participants selection page. See Adding Participants.
-
Click Save to save the template.
-
Click Preview Survey to preview the survey.
-
Click Save Changes to save the survey.
Adding Participants
Admins can add the Participants page in the survey to allow respondents to select the participants they want to provide feedback for.
To display the Participants page in the survey, admins must do the following steps in the Survey Template Configuration page:
-
Click +Add Participants to add the participants selection page.
Once the page is added, a question appears in the next page to rate each reference. You can edit the question and set it as mandatory or not, but the type cannot be changed.
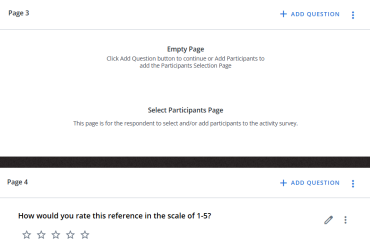
Note: The Participants page can be added only once and only after the first page.
After the page is configured, the participant page in survey displays references sourced from Requests.
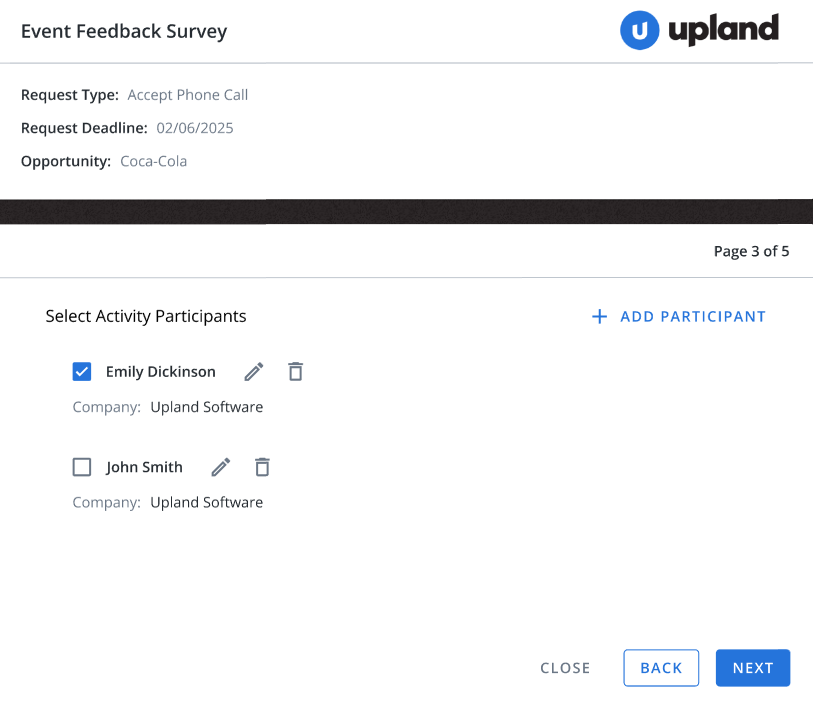
Respondents can select the checkboxes of one or more participants to include in the survey from the list.
Note: All survey questions will be repeated separately for each selected participant, allowing the respondent to provide individual feedback.
Example: If four participants are selected from the participant list, the entire survey will repeat four times, each set showing the name of the participant the feedback is intended for.
Configuring Attributes
There are four attributes you can customize:
-
Title: Enter the survey title.
-
Logo: Click Add to upload an image or drag and drop it here. The recommended size is 125px X 43px.
-
Background: Select a background color (Black, Blue, or White).
-
Additional Screens: Configure welcome and thank you messages displayed at the beginning and end of the survey.
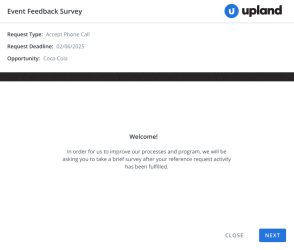
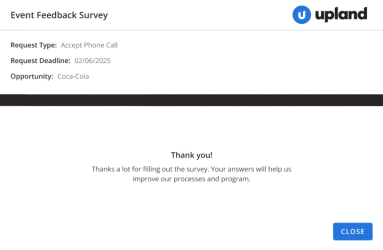
Note: The welcome screen is optional; you can select or deselect the checkbox. However, the thank you screen is mandatory.

